
Markham window caulking after a failed DIY silicone attempt

This Markham project started after a homeowner-applied silicone attempt left the window perimeter uneven and difficult to reseal cleanly. The repair focused first on cleanup, then on rebuilding a controlled exterior bead.

Markham window caulking after a failed DIY silicone attempt

Project location

Markham

Type of scope

Exterior window caulking after failed homeowner silicone

What was done

  • Removed and cleaned up the failed homeowner-applied silicone around the window perimeter
  • Prepared the frame edge and surrounding wall surface before installing the replacement seal
  • Applied a cleaner exterior silicone bead along the window-to-wall transition
  • Reconnected the case to silicone removal, exterior caulking, and North GTA service-area context

Project steps

A closer look at the main stages shown in this project.

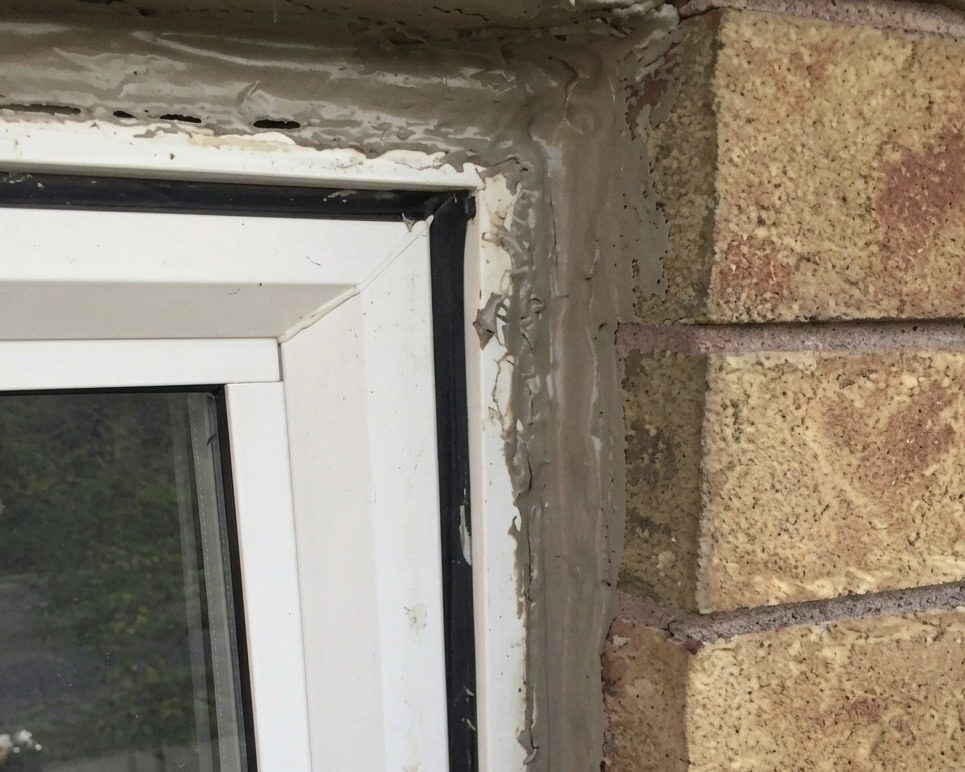
Window in Markham before repair with failed homeowner-applied silicone around the exterior frame
Step 1

Before: failed silicone attempt around the window

The first photo shows the window before the repair. The joint between the window and the wall had been sealed unsuccessfully and needed to be cleaned up properly before new silicone could be applied. If your windows are in similar condition, professional caulking can leave the opening cleaner and help support better exterior sealing around the house.

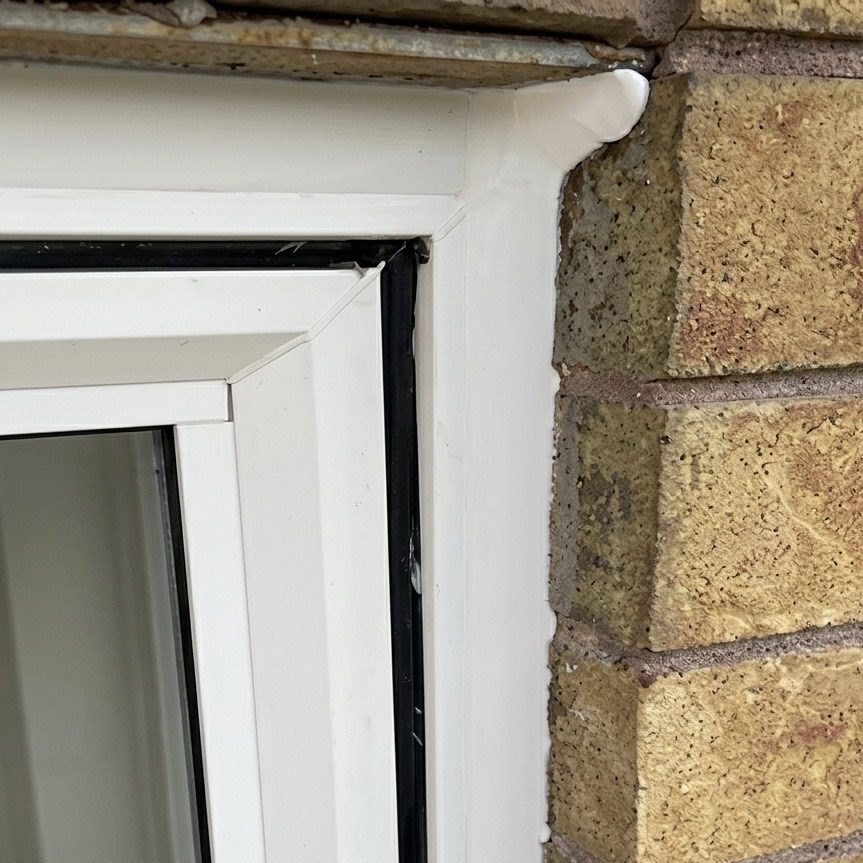
Completed Markham window caulking with a neat new silicone line between the window and the wall
Step 2

After: cleaned up and finished with new silicone

The second photo shows how we completed the work. This repair was more difficult because the failed homeowner attempt had to be removed first, then the seam had to be prepared carefully before the new silicone was installed. The finished result looks much cleaner and more professional between the window and the wall.

Materials and joint prep

The failed DIY silicone created a surface-preparation problem. New sealant performs and looks better when old smears, uneven buildup, and loose material are removed instead of buried under another layer.

The joint was treated as both a silicone-removal job and an exterior re-caulking job. That distinction matters because cleanup quality controls how neat the final bead can look around the frame.

Process, result, and related services

  • Separated the failed DIY bead from the frame and adjacent wall surface where possible.
  • Cleaned the visible joint line so the replacement bead had a more consistent path.
  • Installed and tooled a new exterior sealant line with a more professional finish.

This case is useful for customer request around failed silicone repair, DIY caulking cleanup, and Markham window caulking. It now links directly to both the Exterior Caulking service and the Silicone Removal & Recaulking page, which gives the project stronger service clarity.

Related service pages: Exterior Caulking service, North GTA Caulking area coverage, and Silicone Removal & Recaulking.

Quote context for similar work

For a similar exterior window caulking after failed homeowner silicone request in Markham, the most useful quote photos are one wide shot showing the whole opening or surface, one close-up of the failed joint, and one photo that shows access around the work area. That context helps separate a straightforward re-caulking job from a wider preparation or removal scope.

Useful next step

For the same type of work, start with Exterior Caulking. For location-specific availability, review North GTA Caulking. If the project includes related preparation or a broader scope, the closest supporting page is Silicone Removal & Recaulking.

Related pages

Request a quote

Send photos of the exterior window caulking after failed homeowner silicone, the city or neighbourhood, and a short note about what looks worn, open, or failed.

Contact Number(416) 302-3559
CoverageToronto, West GTA, North GTA, East GTA

By submitting, you consent to be contacted about your request.