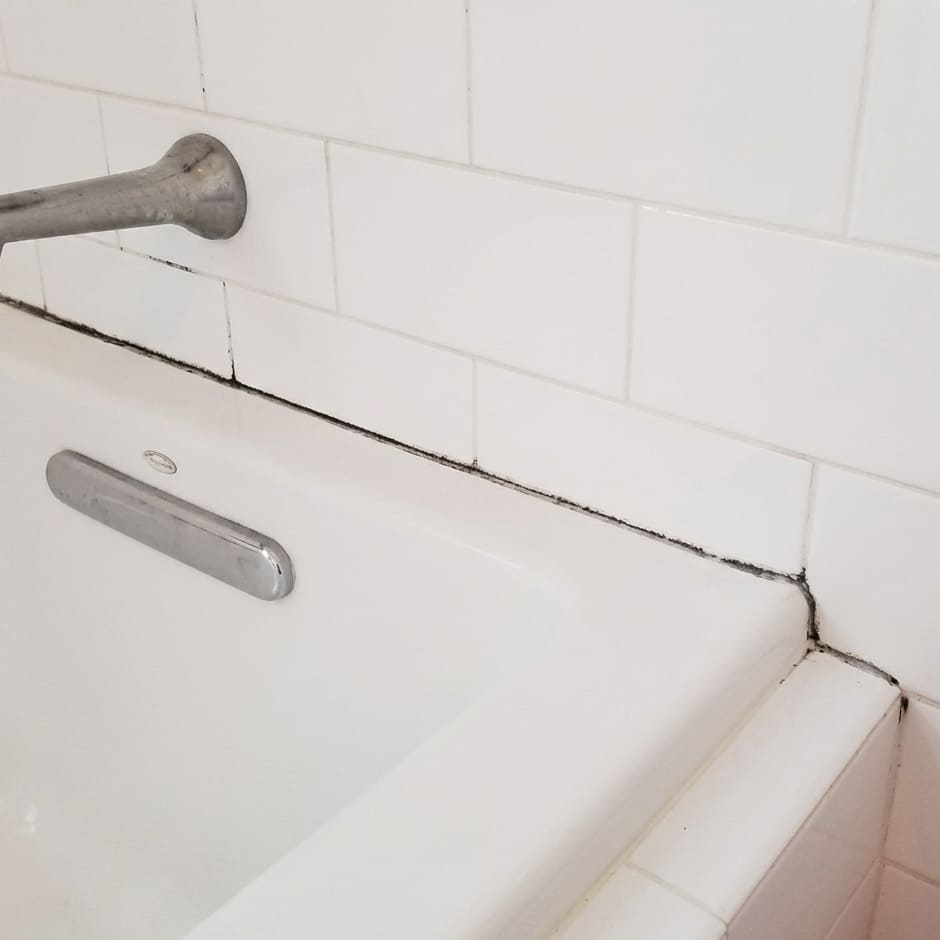
Before
Before the bathtub wall joint was reset
The original sealant at the bathtub wall joint had reached the point where the line looked tired, uneven, or visibly worn, so this Brampton bathroom detail needed a proper cleanup before replacement.
This Brampton bathroom re-caulking example focused on the bathtub wall joint, where the original silicone line had worn out and lost its cleaner finished edge. The bathtub-to-wall transition is one of the first places where worn silicone makes the wet area look dated or poorly maintained.
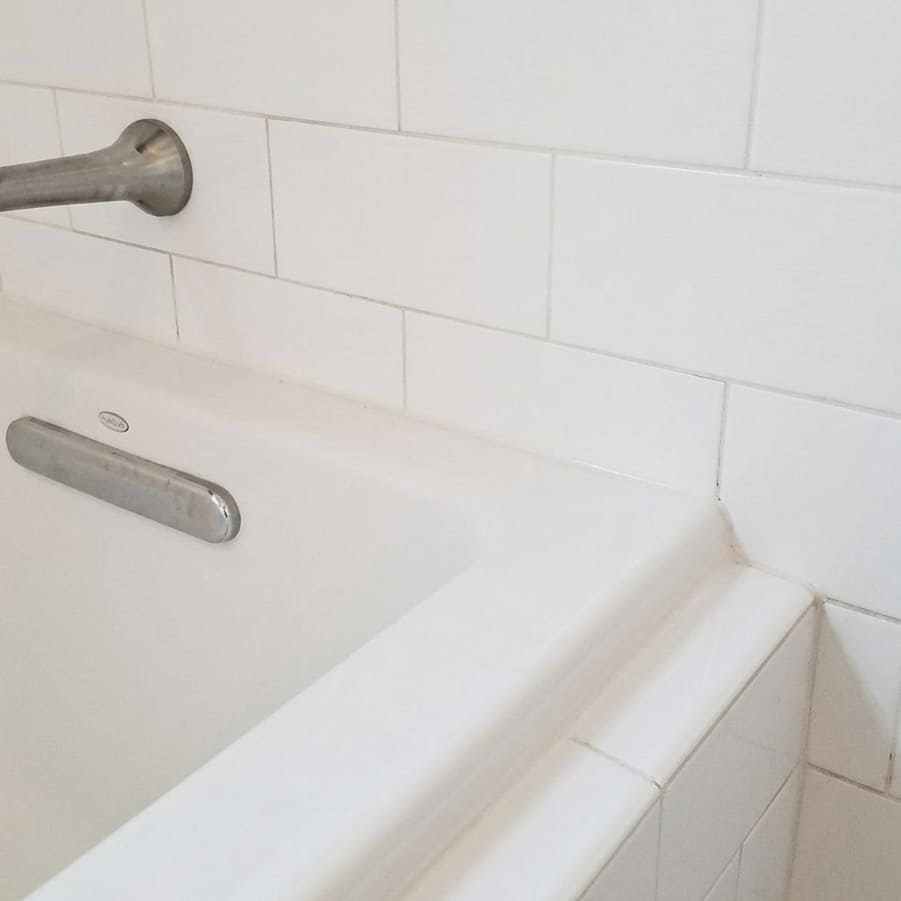
Brampton
Bathtub Wall Joint Recaulking
These photos show the same bathtub wall joint before the reset and after the new silicone line was installed. A renewed wall joint gives the tub line a cleaner edge and a more finished appearance.
The original sealant at the bathtub wall joint had reached the point where the line looked tired, uneven, or visibly worn, so this Brampton bathroom detail needed a proper cleanup before replacement.
Once the bathtub wall joint was cleaned and prepared, a new bead was applied to leave a neater finished line at this Brampton bathroom detail.
The bathtub-to-wall transition is one of the first places where worn silicone makes the wet area look dated or poorly maintained.
A renewed wall joint gives the tub line a cleaner edge and a more finished appearance.
Brampton bathroom work often involves family-use tubs and showers where daily cleaning, splash zones, and older silicone make the finished line look tired.
The work focused on the line where the bathtub meets the wall surface, a joint that needs a clean edge because it is easy to see and regularly exposed to splash water.
The work focused on the bathtub-to-wall joint. The main issue was that the joint along the tub wall had become uneven and visually tired. Instead of adding silicone over old material, the job required removing the old sealant line, cleaning the tub edge, and resetting the bead without layering over failed material. The replacement line used bathroom-grade silicone for tub and wall transitions, selected for a cleaner wet-area finish and better adhesion after proper preparation.
The finished result was a cleaner tub-to-wall transition that improves the overall bathroom finish. Similar Brampton requests should usually start with bathroom re-caulking, then use Silicone Removal if the older bead needs full removal first. For local availability, this example also supports the West GTA caulking service area page.
For a Brampton bathtub wall joint, photos should show the horizontal tub-to-wall line and both ends of the joint. Mention whether the wall is tile, surround panel, or another surface so the quote can account for the surface condition and the amount of old silicone removal required.
Send a few photos of the bathtub wall joint, your city, and a short note about what looks worn or failed.