
Shower bench joint recaulking case in Richmond Hill

This Richmond Hill bathroom re-caulking example focused on the shower bench joint, where the original silicone line had worn out and lost its cleaner finished edge. Bench joints stay wet longer than many vertical lines, so worn material here usually stands out quickly and can leave the area looking rough.

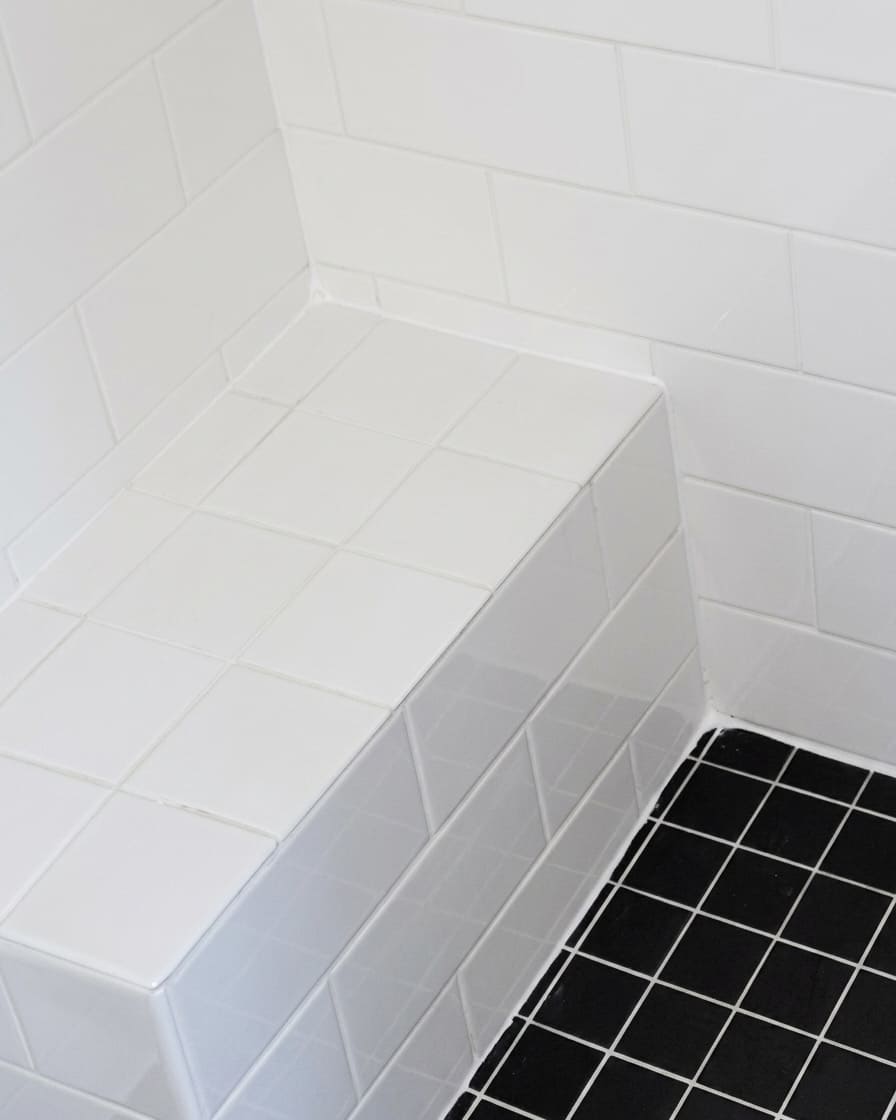
After shower bench joint re-caulking in Richmond Hill.

Project location

Richmond Hill

Type of scope

Shower Bench Joint Recaulking

What was done

  • Removed the older silicone at the shower bench joint so the joint could be reset properly
  • Cleaned and prepared the shower bench joint before the new bead was installed
  • Finished the shower bench joint with a cleaner replacement silicone line suited to this Richmond Hill bathroom

Before and after the shower bench joint reset

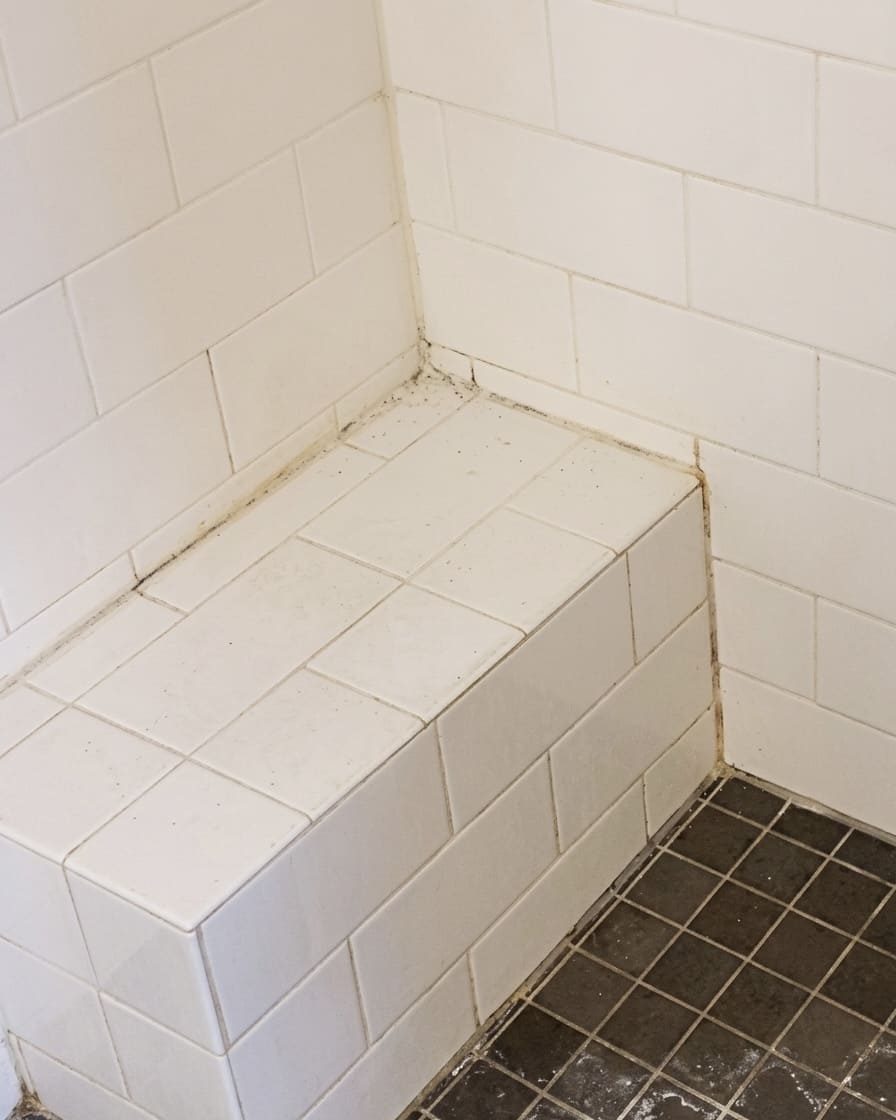
These photos show the same shower bench joint before the reset and after the new silicone line was installed. A refreshed bench joint leaves a cleaner edge at a detail that is easy to notice during everyday use.

Before shower bench joint re-caulking in Richmond Hill.
Before

Before the shower bench joint was reset

The original sealant at the shower bench joint had reached the point where the line looked tired, uneven, or visibly worn, so this Richmond Hill bathroom detail needed a proper cleanup before replacement.

After shower bench joint re-caulking in Richmond Hill.
After

After the new silicone line was finished

Once the shower bench joint was cleaned and prepared, a new bead was applied to leave a neater finished line at this Richmond Hill bathroom detail.

Why the shower bench joint mattered

Bench joints stay wet longer than many vertical lines, so worn material here usually stands out quickly and can leave the area looking rough.

A refreshed bench joint leaves a cleaner edge at a detail that is easy to notice during everyday use.

What this project shows

This Richmond bathroom example shows a specific wet-area caulking detail rather than a general bathroom page.

The work focused on a hill shower bench joint detail, with old silicone removal, surface preparation, and a cleaner replacement bead.

Project notes

Joint, prep, and material context

The work focused on the shower bench edge and surrounding wet-area joint. The main issue was that the bench joint needed attention because seating ledges collect moisture and are highly visible. Instead of adding silicone over old material, the job required removing old silicone around the bench edge, cleaning the contact line, and applying a controlled bead. The replacement line used wet-area silicone appropriate for bench edges and shower movement, selected for a cleaner wet-area finish and better adhesion after proper preparation.

Result and local service path

The finished result was a cleaner shower bench edge with a more finished appearance. Similar Richmond Hill requests should usually start with bathroom re-caulking, then use silicone removal and recaulking when the older bead needs full removal first. For local availability, this example also supports the North GTA caulking service area page.

Quote details that help for this exact case

For a Richmond Hill shower bench joint, send photos of the bench edge, the side returns, and the lower connection where water collects. Bench-joint caulking has a different visual and moisture pattern than a shower floor perimeter, so clear photos are especially useful.

Related pages

Want a cleaner bathroom finish like this?

Send a few photos of the shower bench joint, your city, and a short note about what looks worn or failed.

Contact Number(416) 302-3559
CoverageToronto, West GTA, North GTA, East GTA

By submitting, you consent to be contacted about your request.